Based on the feedback from users, it appeared that packaging and creating a stand-alone project for using on the Input app were sometimes cumbersome and confusing. Existing projects have links to several layers and those layers can be spread over different network drives or folders.
With the new release of the Mergin plugin for QGIS, we have introduced a project wizard, which can help users to package and upload the project to the Mergin service. There is also a new toolbar to simplify your workflow.
Easy access to Mergin tools
The plugin now comes with a new toolbar. The common tasks (syncing the project/data and checking the status of the project) are now available from the toolbar.
Project wizard
To create a new project, you can start from a blank project or alternatively open an existing project. You can then select Create Mergin Project from the toolbar:

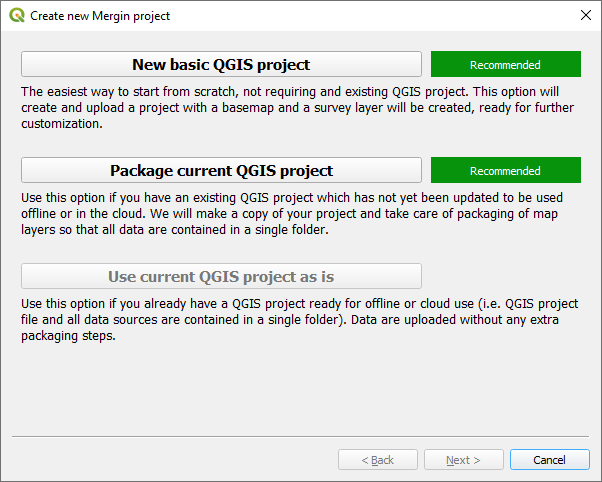
A new window will appear which should give you three options (the last two options are available only if you have an existing project open):
-
New basic QGIS project: if you are new to QGIS, this is a good starting point. With this option, a project will be created. Within the project there will be a survey layer (a point layer) and background map (OpenStreetMap).
-
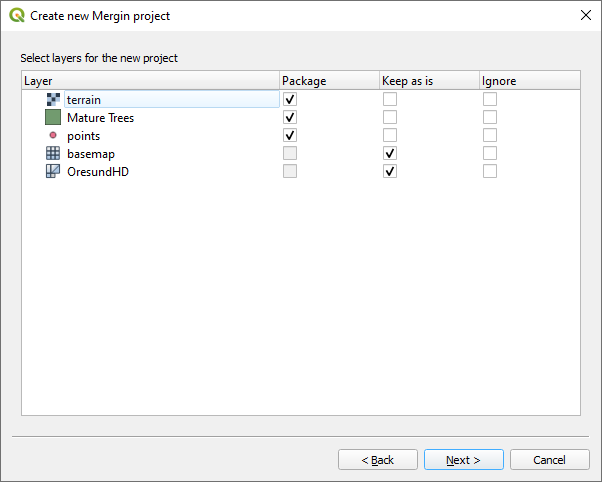
Package current QGIS project: this option will create a copy of your project and copies all the files to a single folder. The wizard tries to guess each format and offers users three options to package the layer, keep as is (i.e. the layer will be referenced as is in the new project) or ignore (the layer will not be included in the new project). The default for each layer type is as: the web services (e.g. WMTS, XYZ tiles, vector tile layers) will be referenced in the new project as they are. Vector layers will be all written to Geopackage format (each vector in one Geopackage database). Raster layers will be copied as they are. The layers will be referenced in the new project accordingly.
- Use current QGIS project as is: this is for cases when you have already a stand-alone folder with your projects packaged.
In the next window, you will be prompted to assign a project name and select a path where your project folder and associated files will be generated (this option is only available for the first two choices):
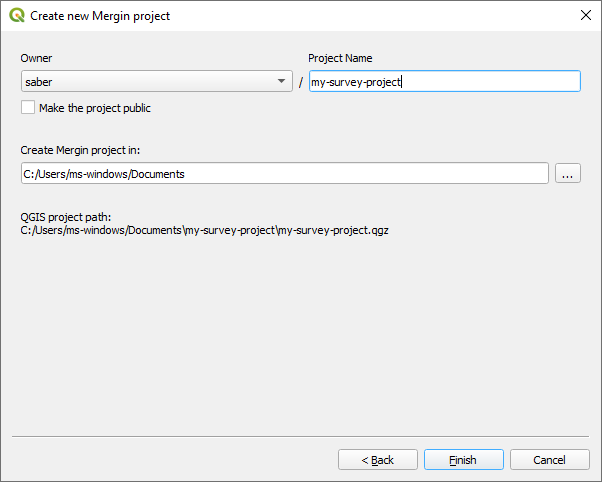
After the wizard, the new project will be created locally and on the Mergin server.
Validation and status check
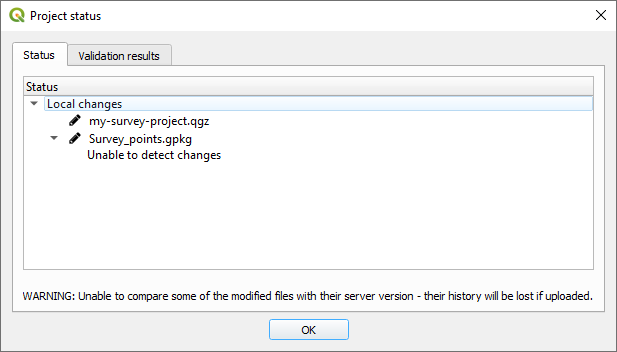
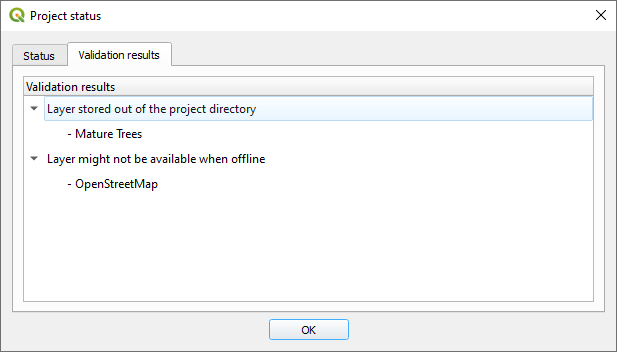
It is recommended to run the project status after changing your layers and project. This will help getting a list of pending changes and also see any warnings or validations of your project. The warnings are related to restructuring of a Geopackage layer (adding/removing a field or addding/removing a layer in a Geopackage database). Validations can be linked to missing layer or availability of a layer when working offline:
Reporting issues
If you have any issues or suggestion to improve the plugin, you can file a ticket on the Github project repository.
What next
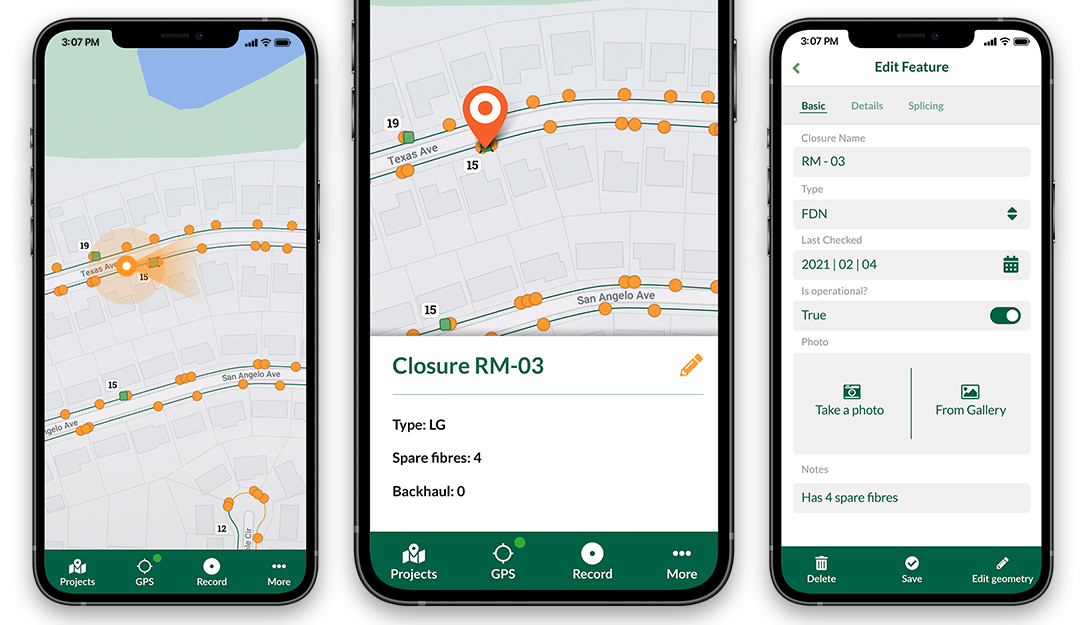
Your project is ready to be used in Input. Get the app for your Android or iOS device. Log into the Mergin service and download the project(s) created in the above section on your device.
![]()
